Cheese Plates
Concepts
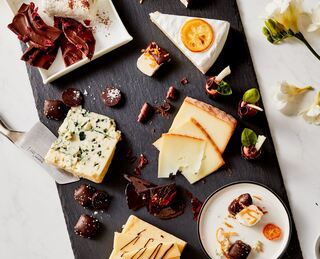
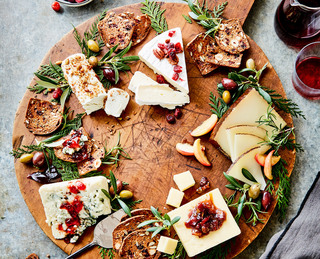
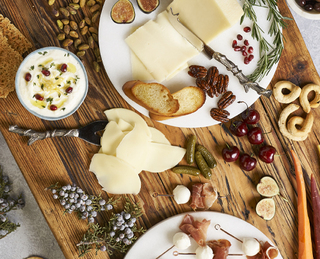
From casual to fine dining, cheese plates are appearing on more and more menus. A cheese course can be offered at the bar, before the meal, or even as an elegant alternative to dessert. Explore these helpful tips, inspiring recipes, and instructional videos to make cheese plates a highlight of your menu.
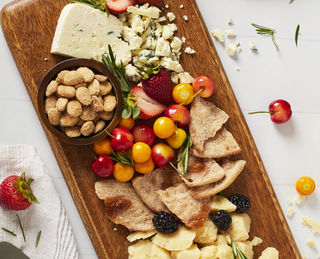
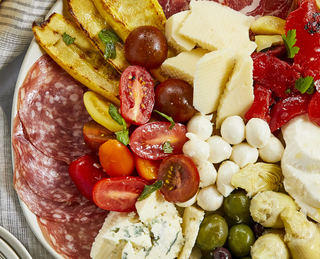
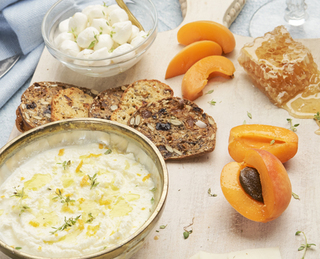
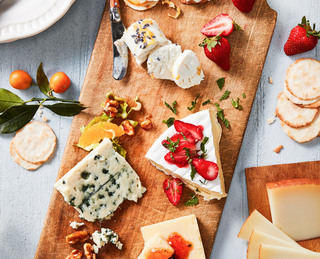
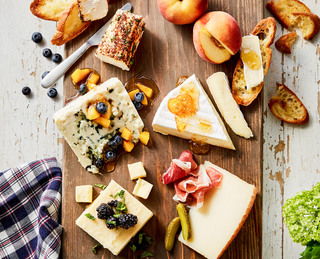
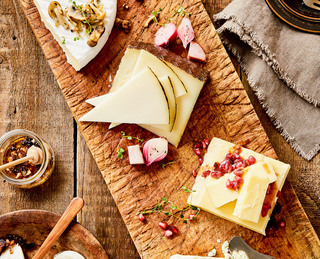

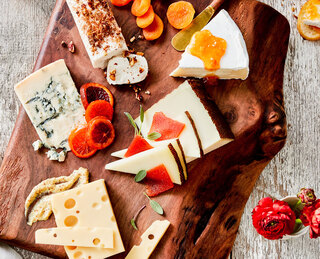

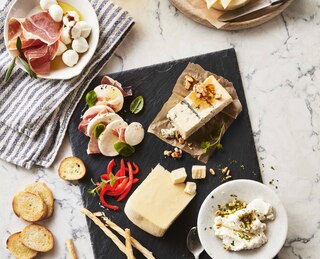

- <
- >
Ways To Make Your Cheese Plate Great
1. Mix It Up
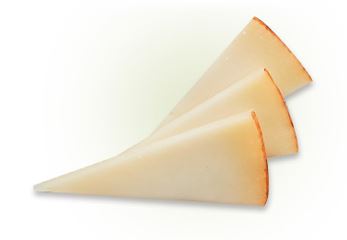
Choose at least three to five cheeses of varying milk sources, colors, and textures from the following categories: fresh, soft-ripened, semi-hard, hard, and blue.
2. Make It To Measure
Choose the number of cheeses and how much of each to include according to when the cheese course will be served:
Tasting: 5 to 7 cheeses, ¾ to 1 ounce each
Appetizers: 3 to 5 cheeses, 1 to 2 ounces each
After Dinner: 3 to 5 cheeses, 1 to 2 ounces each

3. Time It Right
The textures, tastes, and aromas of specialty cheeses are best enjoyed at room temperature. Take your cheese out of the refrigerator 30–60 minutes before serving.
4. Add Accompaniments
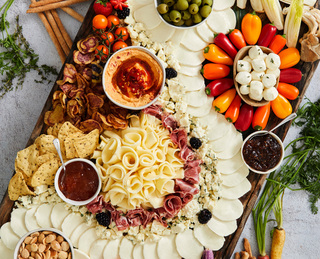
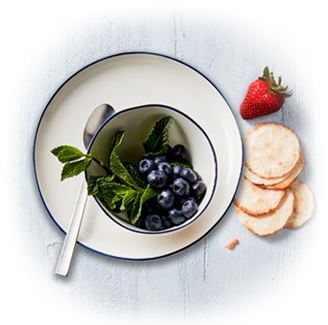
Whether it’s cured meats, jams, sauces, chutneys, or fruits—the right accompaniments will enhance the look and taste of your cheese course.
5. Pick Your Pairings
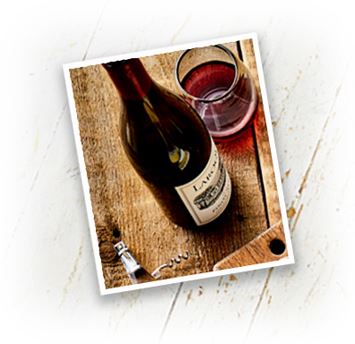
Pairing wine or beer with the cheese course helps raise check averages while providing patrons with a unique beverage and cheese experience.
6. Place It Perfectly
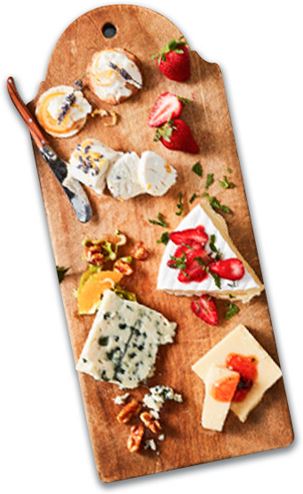
Beginning at the six o’clock position and going clockwise, arrange your cheese from mildest to strongest. Be sure to cut each portion so that it includes part of the rind:
- Softer cheeses sliced lengthwise into wedges
- Harder cheese cut into thin slices
Pairings
- Wine & Spirits
- Beer
- Proteins
- Fruits & Vegetables
- Nuts, Grains & Starches
- Flavors, Spices & Condiments
